


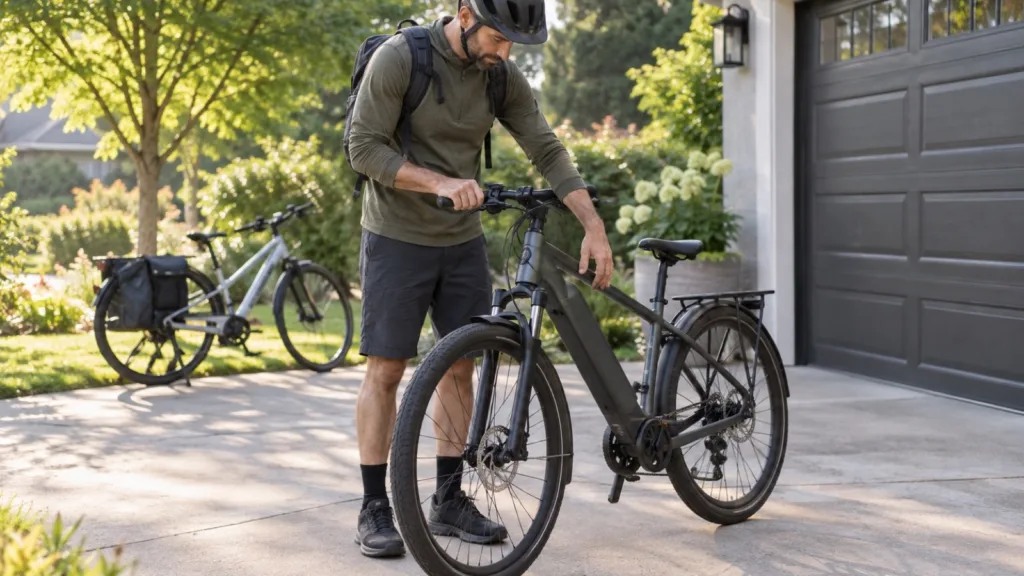
An e-bike is ready to ride only when its brakes feel predictable and stop the bike as expected. A quick check before each ride can help you notice a new problem before you are far from home. It does not replace service or a mechanic’s inspection, especially if a brake feels weak, spongy or suddenly different.
Follow the owner’s manual for your brake system. Mechanical and hydraulic disc brakes have different adjustment and service procedures.
Do a simple stationary check
With the bike on stable ground, inspect each brake lever and look for obvious damage, loose parts or fluid around a hydraulic lever, hose or caliper. Squeeze each lever separately. It should feel consistent with how it normally feels and should not pull unexpectedly to the handlebar.
Walk the bike forward at a slow pace and apply one brake at a time in a clear area. The bike should slow and stop under control. If a lever feels unusually soft, a cable appears loose, or the brake does not slow the bicycle reliably, do not ride until the problem has been checked.
Look at the wheels and braking surfaces
Spin each wheel and listen for a new scraping sound. A brief, light sound can have several causes, so avoid making an adjustment based on sound alone. Check that the wheel is seated correctly and look for visible damage or contamination on the rotor and around the caliper.
Do not touch a rotor immediately after braking; it can be hot. Keep oil, chain lubricant and cleaning products away from rotors and pads. If a braking surface is contaminated, damaged or visibly worn, follow the component maker’s instructions or take the bike to a qualified shop.
Park Tool’s guide to disc brake pad replacement explains that pad wear and contamination matter and recommends checking the pad manufacturer’s wear limits. Its hydraulic brake alignment guide also notes that wheel seating can contribute to rotor rub. These are repair references, not a reason to attempt a repair you are not equipped to perform.
Pay attention during the first minutes
Start slowly in a safe, open area. Check that both brakes respond consistently before entering traffic or beginning a descent. Leave extra stopping room on wet or loose surfaces and avoid making abrupt inputs while turning.
If you hear a loud new squeal, feel vibration, notice pulsing, or find that stopping takes longer than usual, stop and investigate. Do not keep riding just to see if the issue clears. A qualified bicycle mechanic can identify whether the cause is pad wear, contamination, alignment, a loose wheel or another issue.
Make brake checks part of routine care
A short pre-ride check is easy to remember: squeeze both levers, inspect the wheels and rotors, then test the brakes at walking speed. Keep a note of service dates and any change in lever feel or noise. Ask a mechanic what inspection interval makes sense for your riding conditions and brake system.
The goal is not to diagnose every brake problem at home. It is to catch a change early, stop riding when braking is uncertain, and get the right help before a small issue becomes a safety problem.