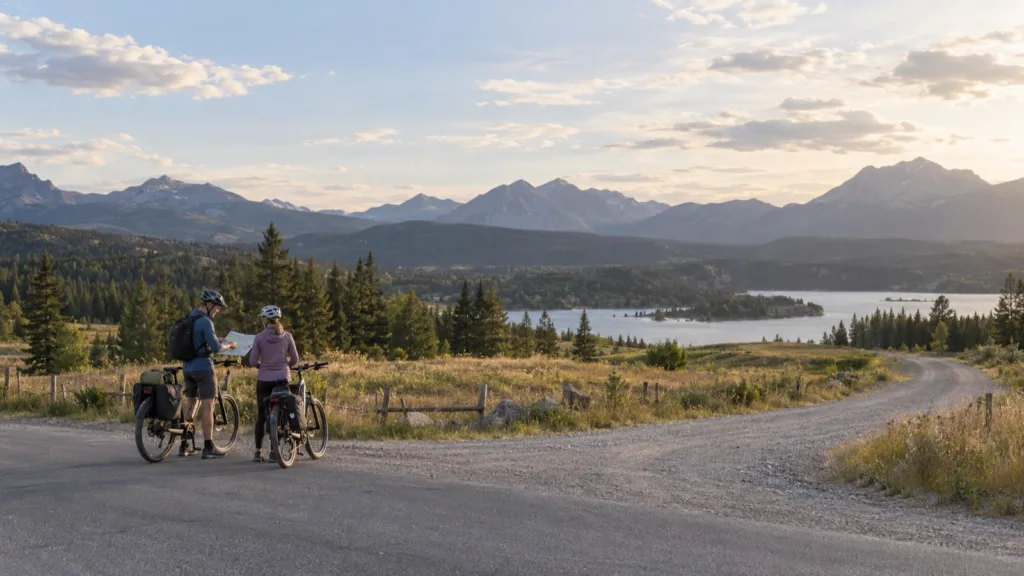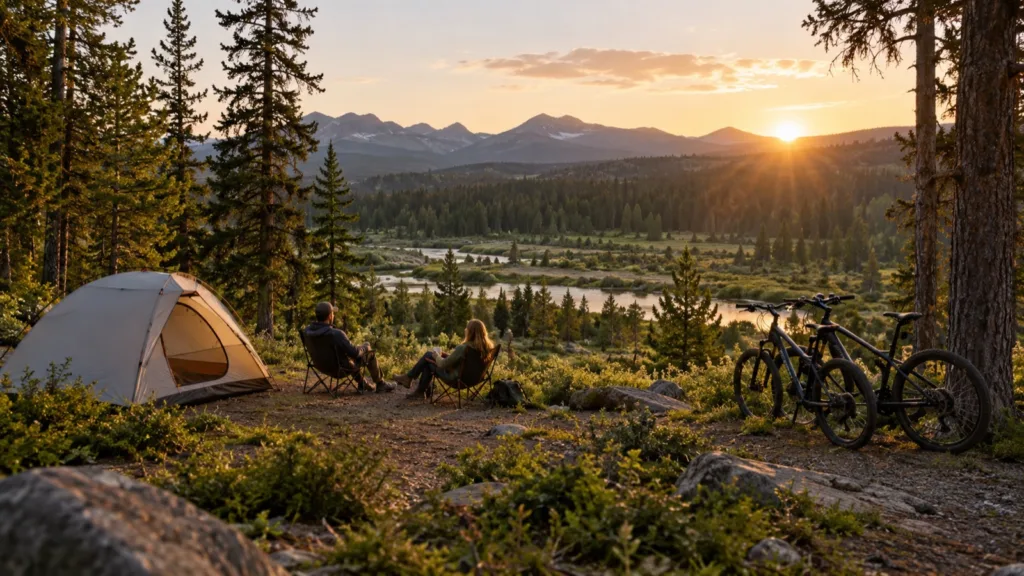


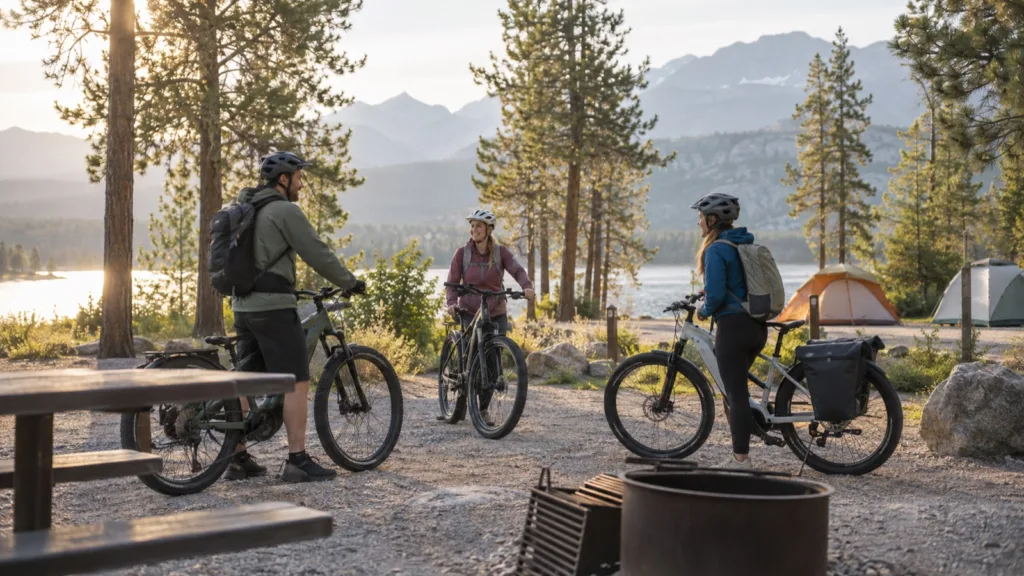
An e-bike camping trip takes more planning than a day ride because the route, gear, charging plan and place to sleep all have to work together. Start with a route you can comfortably complete with your actual load, then confirm access and charging details with the campground or land manager.
This checklist is for a first overnight or campground ride. It is not a promise that every e-bike, rack or campsite setup will be compatible.
Choose a route before packing
Check the full route for distance, elevation, surface, traffic and places to stop. A route that looks short on a map can feel very different with loose surfaces, steep climbs or a loaded bike. Build in a conservative reserve for the return trip instead of planning around the best range number in a listing.
The electric-bike range guide explains why route, rider input, terrain, temperature and load can change range. Use the range you have actually observed on similar rides as your starting point. If you have not made a comparable ride, choose a shorter first trip and leave a larger margin.
Confirm where and how you can ride
Do not assume that a trail, campground road or public-land route allows every kind of e-bike. Access can vary by land manager and trail designation. Check the official rules for each section of the route before you go. PeopleForBikes’ eMTB access resources are a starting point, while the local land manager has the final route-specific information.
For a developed campground, contact staff about where bicycles may be ridden, where the bike can be secured and whether there is an appropriate place to charge. Never assume a campsite outlet is available for e-bike charging or that a battery may be charged inside a tent or unattended building.
Pack for control, not just capacity
Make a short list, then remove items you do not need. Keep the load low, balanced and firmly attached. Follow the bicycle and rack instructions, including any separate load limits. Our guide to pannier versus backpack choices helps compare ways to carry everyday items; a camping load also needs weather protection and secure attachment.
Pack essentials that match the route: water, weather layers, a charged phone, basic first-aid supplies and the repair items you know how to use. For an unfamiliar repair or a wheel removal involving electrical connections, check the manual or arrange professional help rather than improvising trailside.
Make a charging and battery plan
Read the bike and battery instructions before travel. Confirm how the battery should be removed, transported, charged and stored. Bring only the charger approved for your battery, and keep charging away from rain, heat and combustible materials. If the campsite cannot offer an appropriate charging location, plan the route around the usable charge you start with.
Write down a backup plan: a shorter route, a place to stop, and a way to reach assistance if the ride takes longer than expected. An overnight ride is more enjoyable when the plan does not depend on finding an outlet at the last minute.
Do a loaded test ride at home
Before leaving, take a short ride with the same bags and approximate load. Check that nothing touches the wheels, lights remain visible, steering feels predictable and the bike stops as expected. Make adjustments at home while you have time and proper tools.
After the test, note how the load affects the ride and battery use. For the first trip, choose a campsite and route that leave room to learn. A simple overnight plan with a confirmed route, realistic reserve and secure load is a better start than carrying more gear than you can manage.