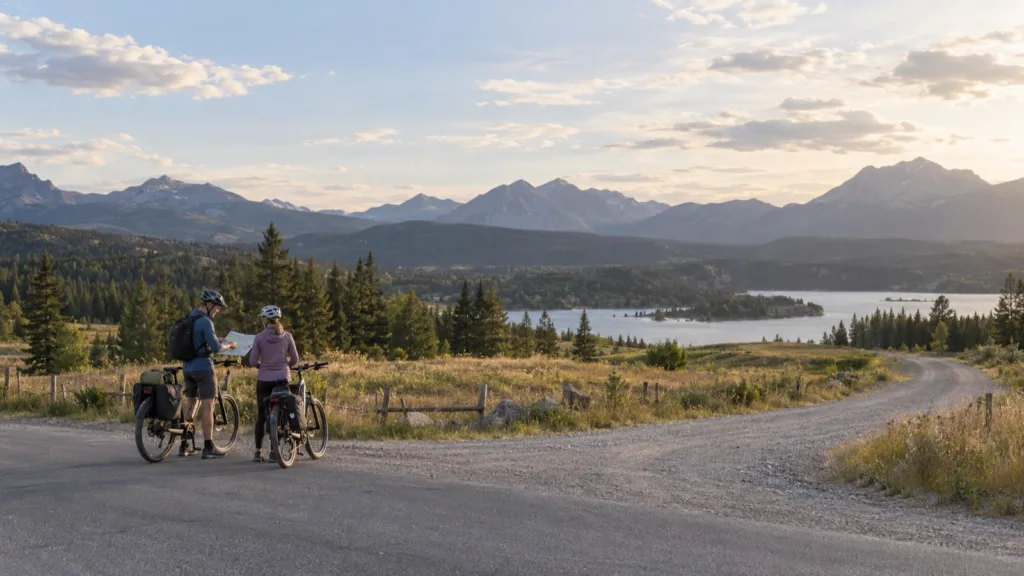


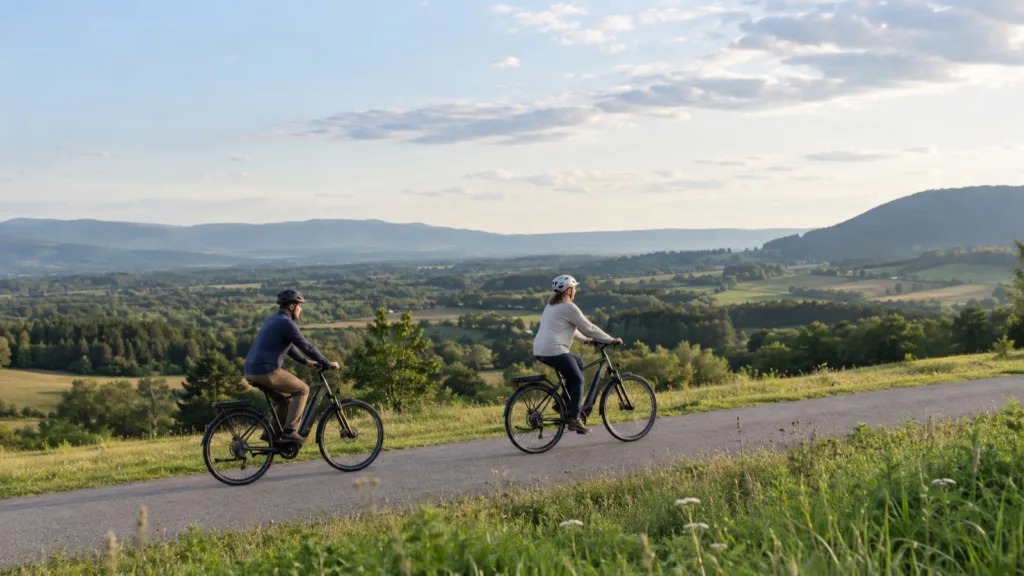
For a manageable hill, select an easier gear before the climb, use assistance that lets you pedal smoothly, and keep enough control to stop safely. There is no single gear or assist number for every e-bike. Grade, surface, load and the bicycle’s intended use all change what is appropriate.
Practice on a modest, familiar paved hill before trying a loaded or longer climb. Buying a bike with a high power number does not replace learning how its controls work.
Separate the gear from the assistance
The gear changes the relationship between your pedal turns and wheel movement. Assistance changes the motor’s contribution. If you are pushing slowly and heavily, an easier gear may be the adjustment you need before adding more support.
For a conventional derailleur drivetrain, REI’s shifting guide advises anticipating the climb and easing pedal pressure during a shift. Internal gear hubs and automatic systems have their own operating instructions. Our e-bike shifting article covers the manually shifted derailleur technique.
Learn which shifter action makes pedaling easier on a flat practice section. On the hill, your attention belongs on the route rather than the markings on the controls.
Approach the climb before it becomes hard
Notice the grade ahead while you still have room to make a controlled change. Choose a comfortable gear on the approach and adjust assistance as needed. Aim for a rhythm you can sustain without forcing the pedals or hurrying through a turn.
If you need to shift while climbing, follow the drivetrain instructions and avoid stamping hard on the pedals through the change. Repeated grinding or skipping is a reason to stop and have the bike checked.
Use this sequence during a gentle practice climb:
- Check that the surface and route are suitable and permitted for your bike.
- Choose an easier gear while moving smoothly before the grade steepens.
- Select support you can control and keep looking ahead.
- Reassess effort as the slope changes; make small changes when conditions allow.
- Stop in a safe place if balance, traction or control becomes uncertain.
Do not weave across a traffic lane to make the slope feel easier. Pick a less demanding route if the climb exceeds your ability or the bike’s intended use.
Plan for a stop on the hill
A stop sign, pedestrian or traffic queue can interrupt an otherwise easy climb. Look for a safe, legal place to stop and know your bike’s starting procedure before you reach it. Keep both brake controls accessible.
Starting again can be awkward if you stopped in a hard gear. On a conventional derailleur bike, repeatedly clicking the shifter while stationary does not complete a gear change. Practice choosing a manageable starting gear before planned stops during an easy ride.
If a restart feels uncertain, use a safe opportunity to dismount and walk instead. Turn assistance off or use a manufacturer-approved walking feature as instructed. Do not improvise a throttle launch on a steep or crowded section because the bike has a motor.
Recheck the climb with luggage
An errand load or camping bag changes the bicycle you are handling. Stay within the bike, rack and bag limits, and try a short loaded ride before committing to a hilly route. Check that luggage does not move, hide lights or interfere with pedaling.
Write down where the effort changed and whether the bags affected a stop or turn. Those observations help you choose a route or packing arrangement. They do not establish the maximum grade the bike can climb. For a purchase decision, use the hill-climbing buying checklist to ask about the complete setup.
Leave enough charge for the return
Evaluate the round trip, including later hills, luggage and conditions. Do not plan on a descent automatically recovering the charge used on the climb; energy recovery is system-specific, and many bikes do not offer it. Use the range guide to build a reserve from comparable rides.
End the practice ride while you still have a comfortable return plan. If the motor changes behavior, shows an error or loses assistance unexpectedly, stop safely and follow the manufacturer’s troubleshooting instructions. More assistance is useful only while you can ride the route under control.